
Home › n8n course: 3 beginner lessons
n8n course: 3 beginner lessons
Last checked
What it does
A workflow automation tool that connects apps on a schedule or trigger and can add AI Agent steps, self-hosted or in the cloud.
Made by n8n GmbH.
Sign up and log in
- Choose how to run it: sign up for an n8n Cloud free trial, or self-host the free Community Edition.
- Log in, select Personal in the left menu, then Create workflow.
- Select Add first step and pick a trigger, for example On a schedule.
- Add nodes after the trigger with + (for example HTTP Request), and use Execute step to test each one.
- Test the whole workflow with Execute workflow, then select Publish so it runs on its own.
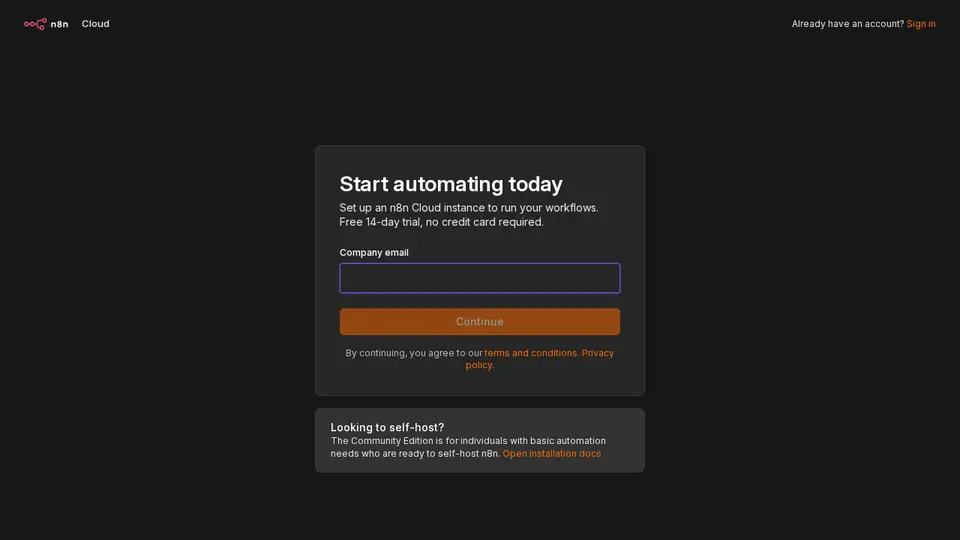
Steps from the official help pages listed in Lesson 1's sources.
Lesson 1: Get started
n8n is a workflow automation tool: you connect a trigger (a schedule, a form, a message) to nodes that fetch, change and store data, including AI Agent nodes.
- Build n8n's first-workflow tutorial
- Use expressions without code
- Ask n8n Assistant to build it
- Add an AI step
- Keep a log
Lesson 2: Build your first AI agent
The AI Agent node lets a chat model decide which tools to call to complete a task.
- Create a workflow and add a Chat Trigger.
- Add an AI Agent node and connect the trigger to it.
- Attach a chat model sub-node (with credentials for the model provider you use).
- Attach at least one tool sub-node; the agent needs one to run.
- Add a memory sub-node so it remembers the conversation, and set a system message describing its role.
- Open the chat panel and test it.
Lesson 3: Speed up with n8n Assistant and templates
Once you understand how a workflow fits together, you can start from a template or describe it to n8n Assistant and review what it builds..
- Browse workflow templates on n8n.io and import one close to what you need.
- Or select n8n Assistant in the left menu and describe the workflow step by step.
- Approve each step when the assistant asks.
- Run Execute workflow and check the output before you publish.
- Unpublish older versions so two copies don't run at once.
Common beginner mistakes
- Forgetting to publish: while building, you run the workflow yourself; the schedule only runs it after you publish.
- Leaving two copies published: unpublish the old one so both don't run at the same time.
- Comparing prices in US$: n8n lists its Cloud plan prices in euros only, so check its pricing page.
Privacy
- On a self-hosted instance, the data flowing through your workflows stays on your servers and n8n never receives it.
- Self-hosted telemetry is pseudonymous and doesn't include credentials or your workflow data.
- n8n Cloud and paid-license terms are separate; read them before you connect business apps.
More: Is my data safe?
Also: n8n features and prices · Cost calculator · All tutorials